Shiplap has become a favorite for creating a cozy, rustic, yet modern aesthetic in homes. However, one critical detail can make or break the look: the corners. Properly installing shiplap corner trim is key to achieving a seamless, polished finish that transforms your space into a designer-worthy masterpiece. This guide will walk you through the tools, steps, and pro tips needed to install shiplap corner trim like a seasoned professional.
What Is Shiplap Corner Trim?
Shiplap corner trim is a specialized molding used to cover the corners where shiplap boards meet. It hides gaps, provides structural integrity, and elevates the overall appearance of your walls. Without it, corners can look rough, unfinished, or out of alignment. Corner trim also ensures the edges of your shiplap stay protected from damage.
There are two main types of shiplap corner trim:
- Inner corner trim: Installed where two shiplap walls meet at an interior angle.
- Outer corner trim: Used for external corners to create a polished edge.
Both types are essential for ensuring a seamless, cohesive look throughout your shiplap installation.
Step-by-Step Guide to Installing Shiplap Corner Trim
Step 1: Gather Your Tools and Materials
Before diving into the project, make sure you have the necessary tools and materials:
- Shiplap boards
- Shiplap corner trim (inner or outer, depending on the application)
- Measuring tape
- Miter saw or hand saw
- Nail gun or hammer and nails
- Level
- Construction adhesive (optional for added security)
- Sandpaper (medium-grit)
- Caulk
- Paint or stain (optional)
Having everything on hand will make the installation process smooth and efficient.
Step 2: Prepare the Wall
If you haven’t already installed your shiplap boards, begin by preparing the wall:
- Measure and Mark: Use a measuring tape to mark where each shiplap board will go. Ensure consistent spacing for an even look.
- Install Shiplap Boards: Attach the boards to the wall using nails or screws. Leave the corners slightly shy of overlapping; this is where the corner trim will be installed.
Pro Tip: Always check alignment with a level as you install to avoid uneven boards.
Step 3: Measure and Cut the Corner Trim
The key to seamless shiplap corner trim lies in precise measurements and cuts.
- Measure the Height: Use your measuring tape to measure the height of the corner where the trim will go.
- Mark the Trim: Mark your measurements on the corner trim piece.
- Cut to Size: Use a miter saw for clean, accurate cuts. For outer corners, cut the trim at a 45-degree angle to create a miter joint that meets perfectly.
Pro Tip: Always cut slightly longer than your measurement and sand down as needed for a snug fit.
Step 4: Attach the Trim to the Corners
With your trim pieces cut, it’s time to install them:
- Dry Fit the Trim: Place the corner trim against the wall to ensure it fits properly. Make any necessary adjustments.
- Apply Adhesive (Optional): For added stability, apply a thin line of construction adhesive to the back of the trim.
- Secure with Nails: Use a nail gun or hammer to attach the trim to the corner. Place nails at regular intervals (about every 6-8 inches) to ensure a secure fit. Be sure to countersink the nails slightly for a smooth surface.
Pro Tip: Use a level to double-check that the trim is straight before securing it completely.
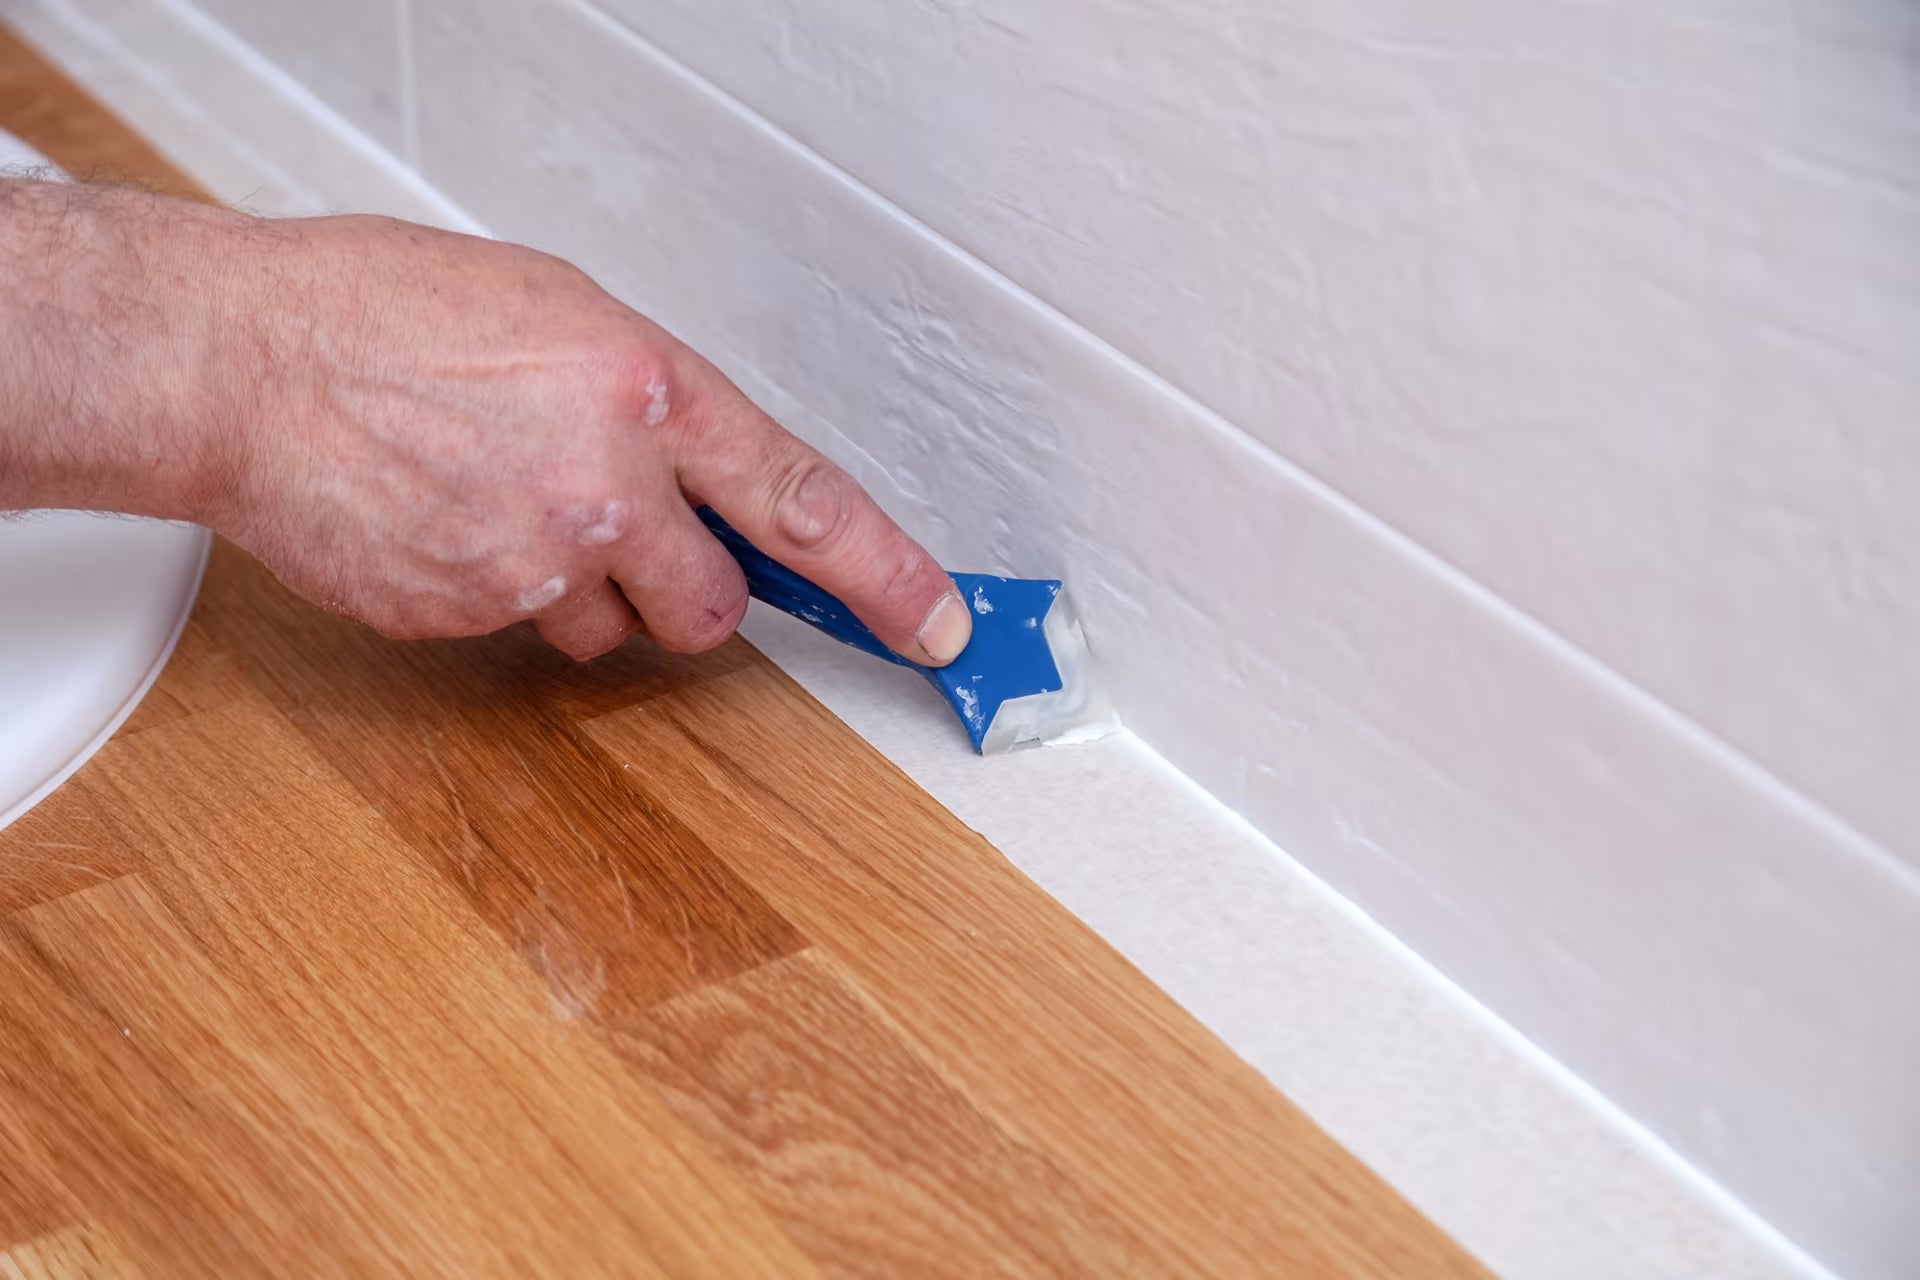
Step 5: Sand and Fill Gaps
After attaching the trim, inspect the corners for any gaps or uneven surfaces:
- Sand the Edges: Use medium-grit sandpaper to smooth any rough edges or imperfections.
- Fill Nail Holes and Gaps: Apply caulk or wood filler to nail holes and any visible gaps between the trim and the shiplap boards. Smooth with a putty knife for a flawless finish.
Pro Tip: Choose a paintable caulk that matches your trim for an invisible repair.
Step 6: Paint or Stain (Optional)
For a truly seamless look, finish your shiplap corner trim with paint or stain that matches the shiplap boards:
- Apply Primer: If you’re painting, use a primer first to ensure even coverage.
- Paint or Stain: Use a brush or roller to apply your chosen finish. Allow sufficient drying time between coats.
Pro Tip: Painting or staining the trim before installation can save time and ensure complete coverage, especially in tight corners.
Common Challenges and How to Overcome Them
Installing shiplap corner trim can be straightforward, but some challenges might arise. Here’s how to handle them:
- Uneven Walls: Use shims or extra caulk to fill gaps caused by uneven surfaces.
- Misaligned Boards: Sand or trim the edges of your shiplap boards for better alignment before attaching the corner trim.
- Visible Nail Holes: Apply two coats of wood filler or caulk for an invisible finish, then sand lightly before painting.
Pro Tips for a Seamless Finish
- Choose Quality Materials: Invest in high-quality shiplap boards and trim to ensure durability and a polished look.
- Work in Sections: Focus on one corner at a time to avoid rushing and making mistakes.
- Use a Nail Gun: For a professional finish, a nail gun ensures precision and minimizes the risk of damaging the wood.
- Take Your Time: Precision is key to a seamless finish. Double-check measurements and alignment throughout the process.
Benefits of Installing Shiplap Corner Trim
Why go the extra mile to install shiplap corner trim? Here are some benefits:
- Enhanced Aesthetics: Corner trim creates clean, polished edges that elevate the entire look of your shiplap walls.
- Protection: It guards the vulnerable edges of shiplap boards from wear and tear.
- Easy Maintenance: Smooth corners are easier to clean and maintain over time.
Conclusion
Installing shiplap corner trim may seem like a small detail, but it’s the secret to achieving a seamless, professional finish. By following the steps outlined in this guide and incorporating the pro tips, you can create a space that not only looks stunning but also stands the test of time.
Whether you’re tackling an interior or exterior project, the attention to detail in your corner trim installation will make all the difference. So, gather your tools, take your time, and enjoy the transformation shiplap brings to your home.
For more DIY tips and tricks, check out other tutorials and start your next home improvement project with confidence!
