As you explore the now popular Path of Exile 2 Early Access, you may see Hideout in the game content. It is your sanctuary in the game, and an important resource that you can return to and adjust your builds repeatedly as you explore the endgame content.
But if you think it is only used to tinker with your builds, you are wrong. It actually functions very much like a small town that you can customize and always visit, with decorations you can decorate and all the crafting stations you have unlocked in POE 2, as well as merchants who can provide you with various goods.
This shows that Hideout is not only for the fun of interior design but also important for some endgame functions, such as the Atlas of Worlds mapping system that you use for exploration and level up. Of course, before you can enjoy the benefits of this Hideout, you need to unlock it, so this guide will show you how to unlock Hideout and how you can modify and customize it in the game.
Unlocking Hideouts
Once you have completed all the quests in the main storyline of Legacy of the Vaal in POE 2, you will be guided by the quest log (or NPC) back to Vaal Ziggurat and talk to Doryani to receive your next move.
At this point, Doryani will introduce you to the Atlas of Worlds, which is all the maps you need to explore in POE 2’s endgame. What you need to do is clear all the enemies in all nodes of this map and slowly and steadily cast corruption in each area to achieve the goal of saving the entire area. But first, you need to unlock a Hideout to use as your base camp.
After Doryani briefly introduces you to Atlas of Worlds, you will be guided to choose a node as the starting point for your endgame exploration. You can look for stages marked with a blue iris icon on the map, which are potential Hideouts that you can choose.
It is worth mentioning that anyone can choose and there is no need to worry about a specific location. Because you can change the location after unlocking more Hideouts. Once selected, you will be teleported to that map node with the help of Waystone, where you will need to clear all the monsters and pick up any loot they drop, which will indicate that you have claimed it.
A reminder here is that you can just use Tier 1 Waystones when unlocking Hideouts, because the maps that can be used as Hideouts are very small, so farming a lot of monsters and POE 2 Exalted Orbs from them is not very visible, so you don’t have to invest in higher-level Waystones in them.
From this hideout, you can now move around the rest of the map, clearing map nodes and advancing Atlas, only requiring you to select it on the map or type /hideout in the chat box to return. You can periodically return to your Hideout to use POE 2 Regal Orbs you receive from combat to upgrade the gear in your build or add an affix to it, in order to improve your build.
How To Change Hideout?
The steps to change Hideout are very similar to the steps to unlock the first Hideout. You need to clear all enemies in the map node and then occupy it. At this point, you don’t have to stick to the map nodes with the blue iris icon, because any map you have cleared can be used as your Hideout.
But if you want to change the visual effects of Hideout, you need to unlock different types of Hideouts by exploring Atlas. There are currently four types of Hideouts in the game, namely Canal Hideout, Felled Hideout, Limestone Hideout and Shrine Hideout, each with different visual effects and POE 2 currency rewards.
After you unlock different types of map nodes, you can talk to an NPC named Alva in Hideout and choose Select Hideout tab. It provides you to change the map where Hideout is located. In addition, you can customize each of the four Hideout maps individually and switch between them at will to get the main resources that can be used in your build quickly.
If you join a guild that has a Guild Hideout, you can access and use it after some challenges and explorations by clicking on Guild Hideout tab on the right side of the screen. Be warned, the map node you explore will most likely be on a different map than Guild Hideout location, which can be a little tricky.
How To Customize Your Hideout?
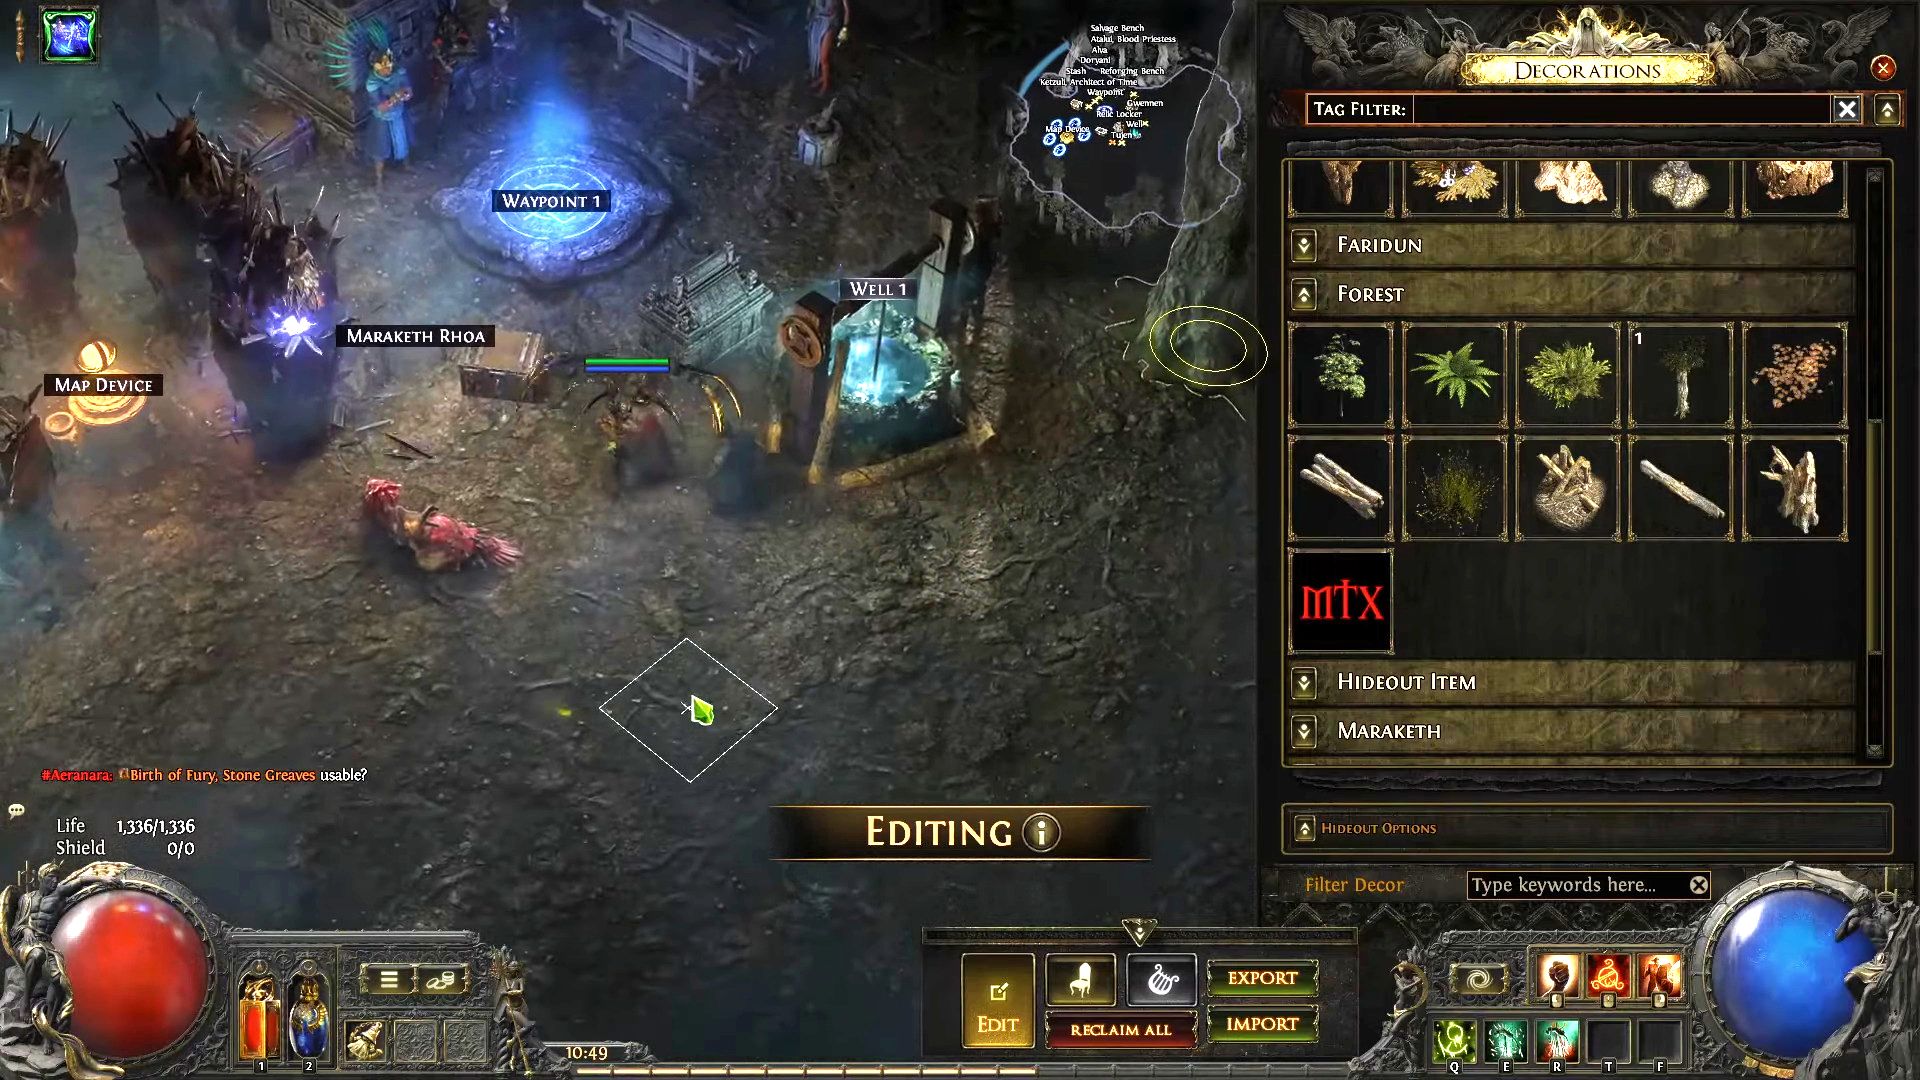
Now we come to the most casual player’s favorite interior design part. You can customize your Hideout at any time by clicking the arrow at the bottom of the screen. Once you click, you will be presented with the edit menu for your Hideout. You can place NPCs, crafting stations, and even decorations to your liking. And as time goes by, as you explore the game, you will unlock new NPCs or POE 2 Items, which you can add to your Hideout.
As mentioned above, there are currently 4 types of Hideouts. If you only like one visual design, you can also save it and automatically import it into the new type of Hideout after unlocking it, which will be more convenient.
The above is all the specific information about Hideouts in the current POE 2 Early Access. We are also looking forward to more pictures of player-designed Hideouts appearing on major social media and player communities. I hope this guide can help you learn more about this special resource. I wish you a happy game!
